Thursday, 8 November 2012

A work in progress


So the side yard has been the biggest work in progress for us...... for years. You can see it from all the windows in the main living area of the house and when I gave up work to be home with our baby full time, I started to really obsess over fixing it up. We have always tried to make it look somewhat nice, but failed miserably due to dogs peeing on or pulling out trees.


After 6 months of living in our home Mr. It went about to make the yard look nice with some buffalo grass.

Finally installed.


Australia was going through a drought so most of the grass died, however it's self repairing so not all hope was lost. The trees also got pee'd on by our beloved fur children and we went about replacing them every 2 years.

 In an attempt to give the grass and the plants a chance to live we had a dog fence installed, which was also going to be the pool fence as we always planned a pool for the backyard. smart thinking right? 
wrong! (we'll get to that)


Our side yard by April 2012, better I know and much nicer to look at from inside.


AND then this happened in June 2012


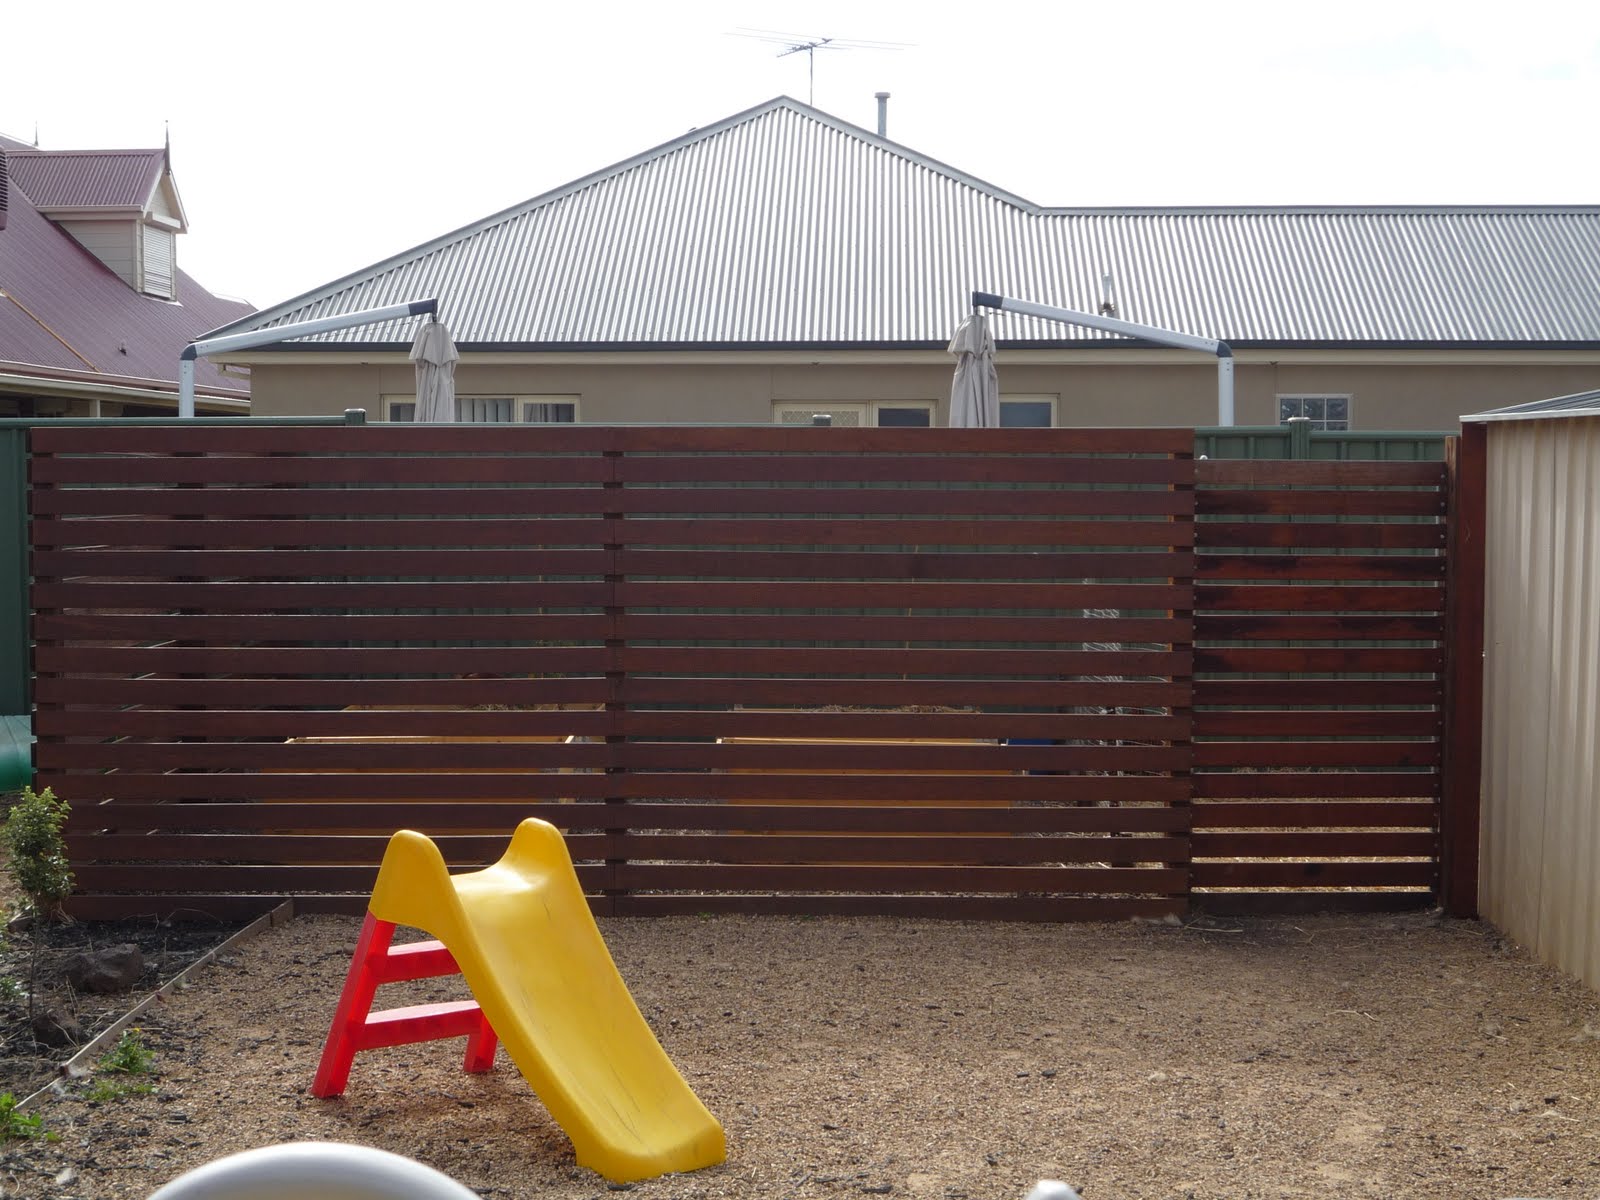
It's ok, the backyard was finally being fixed up and all the machines kind of ripped up the grass and other nice things to look at. Plus this yard is going to have a large water feature installed here soon, so all hope is not lost yet.

More soon.


Natalie

Backyard overhall

10 years ago we bought our block because it is the biggest in the court, right down the end where it's quiet and private and of course lots of room for that large pool and beautiful green grass and play equipment for our future kids.

That was in 2002.

We have lived in our home for 8 years this December, we had high hopes and dreams for our future in our new home when we first moved in, you think our yard would be wonderful after 8 years right? That's what we thought to our selves too.

The way our house sits on our block we kind of had 2 backyards. We have a side yard and then we have a backyard, which as the name may suggest, it's behind the house.


Lets take a look a the side yard first.

Not long after we moved in

After 6 months of living in our home


And this is the backyard......

About 3 years of living in our home


After 5 years living in our home... our yard was still terrible


Hideous.I. know! What can I say, our eyes were bigger then our bank account.

So what happened next?

LOTS! and I finally have some fun and much nicer pictures for you to all look at over the coming days.
I'll give you a little hint, the yard doesn't look anything like it does in these pictures, you may even think it's a different yard.

I hope my interior design style has oozed outside and you all enjoy the next few weeks of updates.

Natalie


Sunday, 22 April 2012

The Joys


In the few blogs posts I have made, I don't think I've ever made one dedicated to the 2 most special 'little' people in my life. Master 1 and Miss 4.

They're now at this age where Master 1 destroys everything in sight and path and Miss 4 yells out "Mummy, he's in my room, get him out, he's making a mess again".

But every so often, usually when we put on Alvin and the Chipmunks on, I see this:


Two little heads sitting on the couch, quietly one moment and then bursting into giggles together like they love each other.

It's what makes every day worth it, I truly love being a mummy.

Natalie
Sunday, 11 December 2011

Garden Harvest

I love the weekends, it means I have time to go into the Veggie Patch and clean it up or harvest out the goodies.


Sundays Harvest consisted of:
Eggs (thank you chickens!)
Around 15 Desiree Potatoes
Handfull of Parsley
1 Onion Leak

I love to make Polish food with the ingredients from the patch for several reasons:

1. My husband is 2nd Generation Polish and loves when I cook Polish food
2. Potatoes, Parsley, Eggs & Flour are in heaps of Polish recipes and I have an abundance of all of them.
3. It's pretty easy to cook, so long as small children aren't bugging you every 5 seconds.
4. It brings back memories of cooking with Adam's grandmother (God rest her sweet soul), specifically the time she taught me how to make Pierogi and made me grind up half a pig the old fashioned way, it took ages! But a lesson I will never forget and am forever grateful for. Love u Baba.

My next post will be about what I made with my basket of goodies.

Natalie

Saturday, 10 December 2011

The Naughty Chocolate Ripple Cake

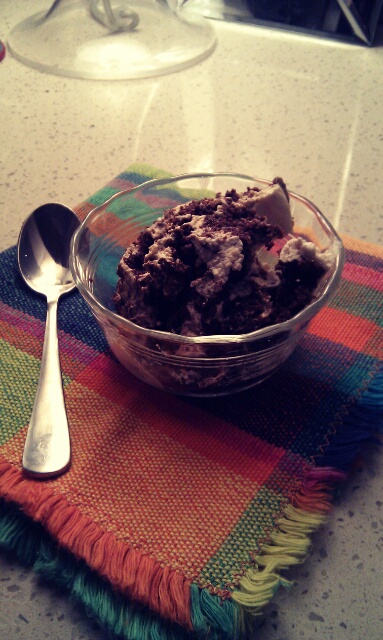
Who doesn't love chocolate ripple cake? I think it's one of those good old Aussie desserts that everyone loves. So I've put a new spin on it and made my own version, The Naughty Chocolate Ripple Cake.


The Naughty Chocolate Ripple Cake

1/2 shot of Kahula
1/2 shot Vodka
2 shots of Baileys
1 Tim Tam crushed up
1 pk chcoclate ripple biscuits
300ml cream
3lt capacity container (with lid)


Using an electric mixer beat the cream until it's thick.
While mixing on slow, add Kahula, Vodka, Baileys & tim tam one at a time making sure you mix each ingredient completely before adding the next.
Using your container put a small amount of cream down the bottom and put some chocolate ripple biscuits on top, in a flower like pattern.
Put more cream on top, then more biscuits. Keep doing this layering method leaving enough cream to put a thick layer on top. Spread the cream out, put the lid on and put in the fridge for at least 8 hours.


To Serve just spoon out into a serving bowl.

Eat... and share!

Natalie

Sunday, 4 December 2011

The Takeover Toyroom

TOY ROOM

Going back 7 years we had this really cool room in our house that we totally decked out and named our "Theatre room". 7 years later it's now The Toy Room. The kids took over. But I'm so glad we have this room because it's the one room (besides their bedrooms of course), that i can just shut the door if the mess is too horrible to look at, which as most of you who know me well... I never actually close the door, I just give in and clean the room. 

So this is the toy room


My girlfriend Amy commented the other day "this is the cleanest toy room I've ever seen!".
But in honesty there are 3 things to point out:
1. It obviously doesn't always look like this, especially not by the end of the day,
2. It's really easy to clean and keep tidy because I have a lot of storage (but I'd like a lot more)
and
3. I cull toys all the time. 


So here is my best storage solution (below). I keep the books up high so Master 1 doesn't pull them out constantly.
The buckets... they store foam blocks, lego, wooden blocks, balls, puzzles, etc. 
I find the buckets great because I let the kids take them out and it's a little game to pack everything back into the bucket when they're finished (or when I loose it).


I've sectioned the toy room into 2 areas. 
This photo (below) is taken from the door. So when you walk into the room this is what you see. Stoage, neatness, a play space (or as miss 3 calls it, "The dance space").


and then behind the couch.... ta-da!
A toy area to make messy & it's a bit hidden.


I put some wall decals up.. just to keep it kid friendly.


The room looks outside into the garden and into our Alfresco. The great thing is when I open the blinds I can see the kids from the kitchen and keep and eye on them without being in the room.

I have the couch in the middle of the room because it's still our theatre room and needs to function as the toy room and as a grown up room when we want. We have 2 other lounge rooms so movie nights are few and far between, but the kids love to watch Nemo or Woody & Buzz on the big screen. Plus I want it to be functional & slightly grown up.


The couches were donated from Adam's late grandmother, they are the worlds most comfortable lounges. :)

I'd love to hear what storage solutions you have used in your toy room to keep the mess at bay.


Natalie

Wednesday, 9 November 2011

An almost new kitchen


I love my kitchen, it's the one room in the house that's pretty much my domain. I'm the cook in the house.. and the kids (big ones included) only really go into my domain for the occasional fridge or pantry raid. 
So this was my kitchen for 7 years:


It was great for a while, but those ugly black bench tops... oh how I learned to hate them.
Hard to keep clean, who knew black would show up all the dirt?


See how much black?

Soooo.... this year I finally splashed out and got rid of all the black and got......:

TAAA-DAAA!!!!

Reconstituted Stone bench tops!!! 
(Smart stone, Essa Stone, Caesar stone, Nurture Stone - all these  are manufactured from a combination of natural stones, granite and quartz.)


For those of you with the really keen interior eye, yes I also changed the tap, the kickers & the fridge.
AND because Master 1 touches everything the display items in the front display area were all moved. 

I wanted a look where the very open area of our house (kitchen, dining & lounge) just flowed. 
The Black bench tops were a focal point, which I hated!
It all flows much better now.


I totally love it and even Mr. It loves it too... he better, he paid for it all.

Natalie


Monday, 10 October 2011

Folding Space

When we first built our house we splurged on a lot of architectural things that could not easily be improved in the future and decided we'd do the rest later on 'down the track' when we can afford it. Well 7 years have passed since we moved in and it's finally 'down the track' so we're finally making small improvements. yay!

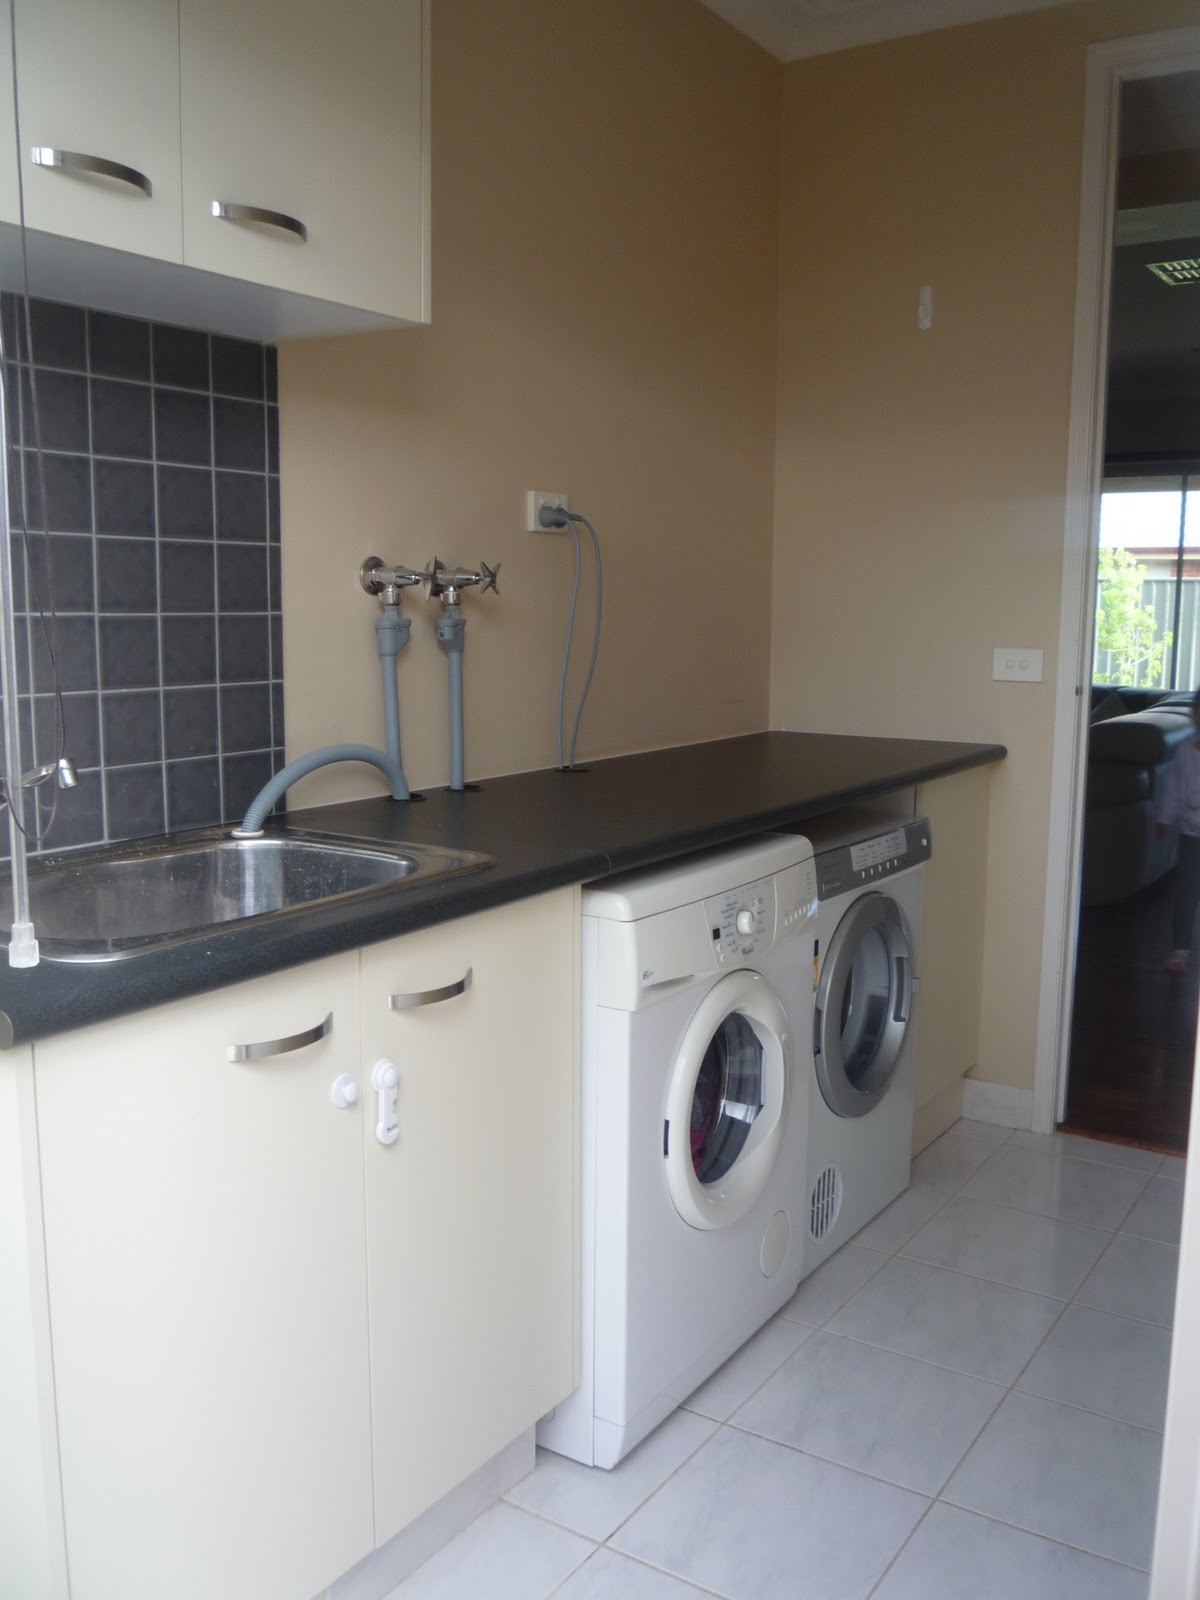
The laundry room was the first victim. As a mother of 2 (plus Mr. It) you can imagine I do a lot of laundry. I usually fold up the clothes in the lounge room or at the dining table, which was a little annoying, especially when Master 1 tries to 'help' and undoes all my good folding work. 

So this is my laundry before & my beagle Roxy at the door:


See what I mean? Where am I suppose to fold in here?!


So after shopping around with some cabinet makers I had one whip this up for me:


Who knew an extra cupboard and a bench would bring so much joy!!!
That little red riding hood basket with the red blanket... it's full of odd socks! No idea how there are so many odd socks in our house.


and that's Bogart our Samoyed at the door saying "hi". 


It's not complete but it's usable for now, oh so much more usable!
The next project is shelves and some pretty canisters for the bench, but that's a whole other post. 

Natalie


Wednesday, 5 October 2011

Wednesday, 21 September 2011

The many faces of the Lounge Room

Well as my name may suggest... I move stuff around. A lot.
I'm a serial furniture mover-arounder. I can't help it. 

So when we built our first home and moved in almost 7 years ago, it was like heaven. I used to move around my bedroom when I lived at home and I fully blame my mother as she would move around all the other rooms in the house. 

So today I'm showing you the many faces of my Lounge Room. It's the main hub of the house, we sit here for almost all the TV watching, gatherings, etc.

This was my lounge room when we first moved into our house. I can't believe I'm uploading this for people to see. We moved in Christmas 2004, hence the few Christmas decorations.
That TV was brand spanking new, we were so proud of it. It now it in our bedroom and we never use it.
We had concrete floors and there was concrete dust everywhere.

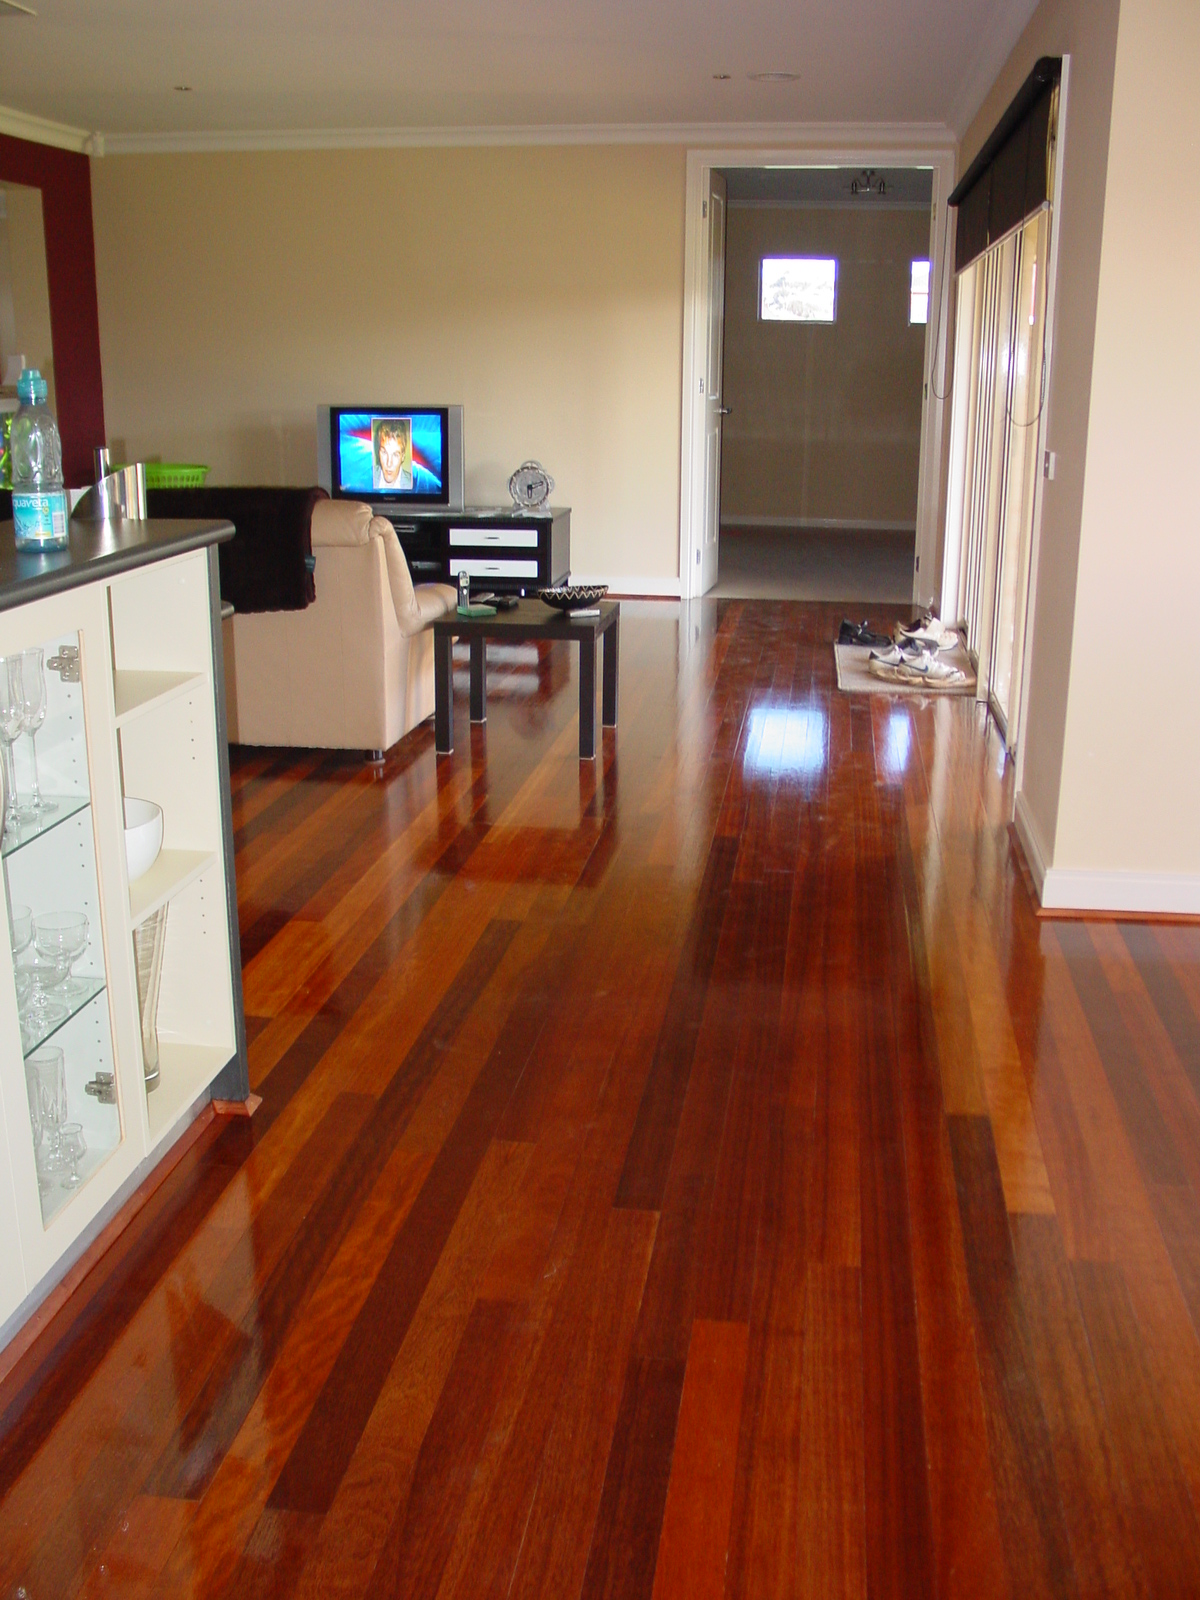
Then our floorboards started, they took about 4 months... 4 P-A-I-N-F-U-L months

 and then the floors where done.

Then I started to re-arrange the furniture.
Please note this is about 4 years after the above picture)


Then I got sick of the maroon wall... That's Mr. It painting the undercoat


Time for the topcoat

Then I got sick of the cut outs (on the left).. so my Uncle boxed them in for me and gave Adam a lesson in plastering and framing at the same time. 

 Cut outs painted... and this is our lounge room today, with Days of Our Lives playing in the background
and my new dream lounge... I needed something to define the room.

Yes this is what my lounge looks like... that's a baby jump toy thingy.

and that's the coffee table that Mr. It pulls nice and close every night so he can put his drink down... hence the strange placement.


So there you have it. I didn't take pictures of the 100 times I moved the room around or of my cream leather lounge I bought for this room (now moved to another room), my friends could only tell you how many times they probably came over and rolled their eyes and thought "not again".
It almost feels like we had to renovate an entire room in a new house to get this room right.
I'm happy with the lounge (for now) and love 97% of it and that couch seriously weights way to much to move, it took 2 men to bring it in and "place" it. Just what I need... unmoveable furniture.

Natalie


Wordless Wednesday


What could be more entertaining then a washing machine and a 1 year old?


Join in Wordless Wednesday over at Faith Hope & a whole lotta love


Sunday, 21 August 2011

Lemon, Orange & Vodka Sorbet

After all the Masterchef hype I think I own almost all the little instruments they use on the show.
This year I've added a Food Processor and a Ice Cream maker to the collection.

My new Cuisinart Ice Cream maker in Retro Green


My first attempt with the ice cream maker was a Lemon, Orange and Vodka Sorbet, I didn't have enough Lemons to make Lemon Sorbet so I improvised. 

The finished result :o)


This is what you will need:
3 lemons
2 medium oranges
1 cup water
1 cup white sugar
zest of 1 lemon
30ml vodka

Method I used:
Add the water and sugar to a saucepan and bring the the boil, reduce to a gentle simmer until all the sugar is melted. Remove from the heat and put in the fridge. This is a basic syrup and can be prepared ahead of time. It needs to be completely cooled before it's used in the ice cream maker so put in the fridge for around 2+ hours.
Juice the lemons and oranges, you'll need around 375ml of juice, plus the zest from 1 lemon. Let it sit for a while, then strain just before you add it to your sugary syrup, add 30ml of Vodka to your mixture.
Once everything is cool add it to your ice cream maker and churn for 25-30mins.
Add to a small container with a lid and put in the freezer or you can put the ice cream maker bucket straight into the freezer.
It needs around 5-8 hours to freeze.
and the last step........Eat it all up once the kids are in bed! 

Home made ice cream doesn't contain preservatives or gums that keeps store bought ice creams fresh. Eat your ice cream or sorbets within the week... if they last that long.

Natalie

Monday, 8 August 2011

Feathered Friends

'Mr. It' came home one day and had a brilliant idea .. "Lets get chickens". 
To me this wasn't so brilliant beacuse (and don't laugh) I'm a little frightened of chickens.
Our backyard was fairly empty and we have dogs.. So I really had no idea where these chickens were going to live. 'Mr. It' had another idea.
So he set about building it all & spent copious amounts of time researching chickens.
We bought a coop for them to roost in at night and it had nesting boxes for them to give us fresh eggs in.


Our chicken area consists of a small area for the chickens to run around in (free range) plus a coop for them to roost in at night/ lay eggs in, etc.


'Mr. It' at work


Finished product - Veggie patch & chicken area


Our chickens
We have Isa Brown Chickens, they are the result of crossing Rhode Island Reds and Rhode Island Whites. They are a hybrid chicken, very popular due to their high production and large eggs.
We bought our chickens at 20 weeks old, which is the 'point of lay', however we didn't see any eggs for a good 2 months. 
We didn't name our chickens, they're all just called "Chicken" or "Girls" - If you've read Marley and Me you'd understand why you don't name chickens. 
My neighbour (I love her to bits) named her chickens something to the like of "Holly, Polly, Molly & something else". She's got a great heart & a great sense of humour. 


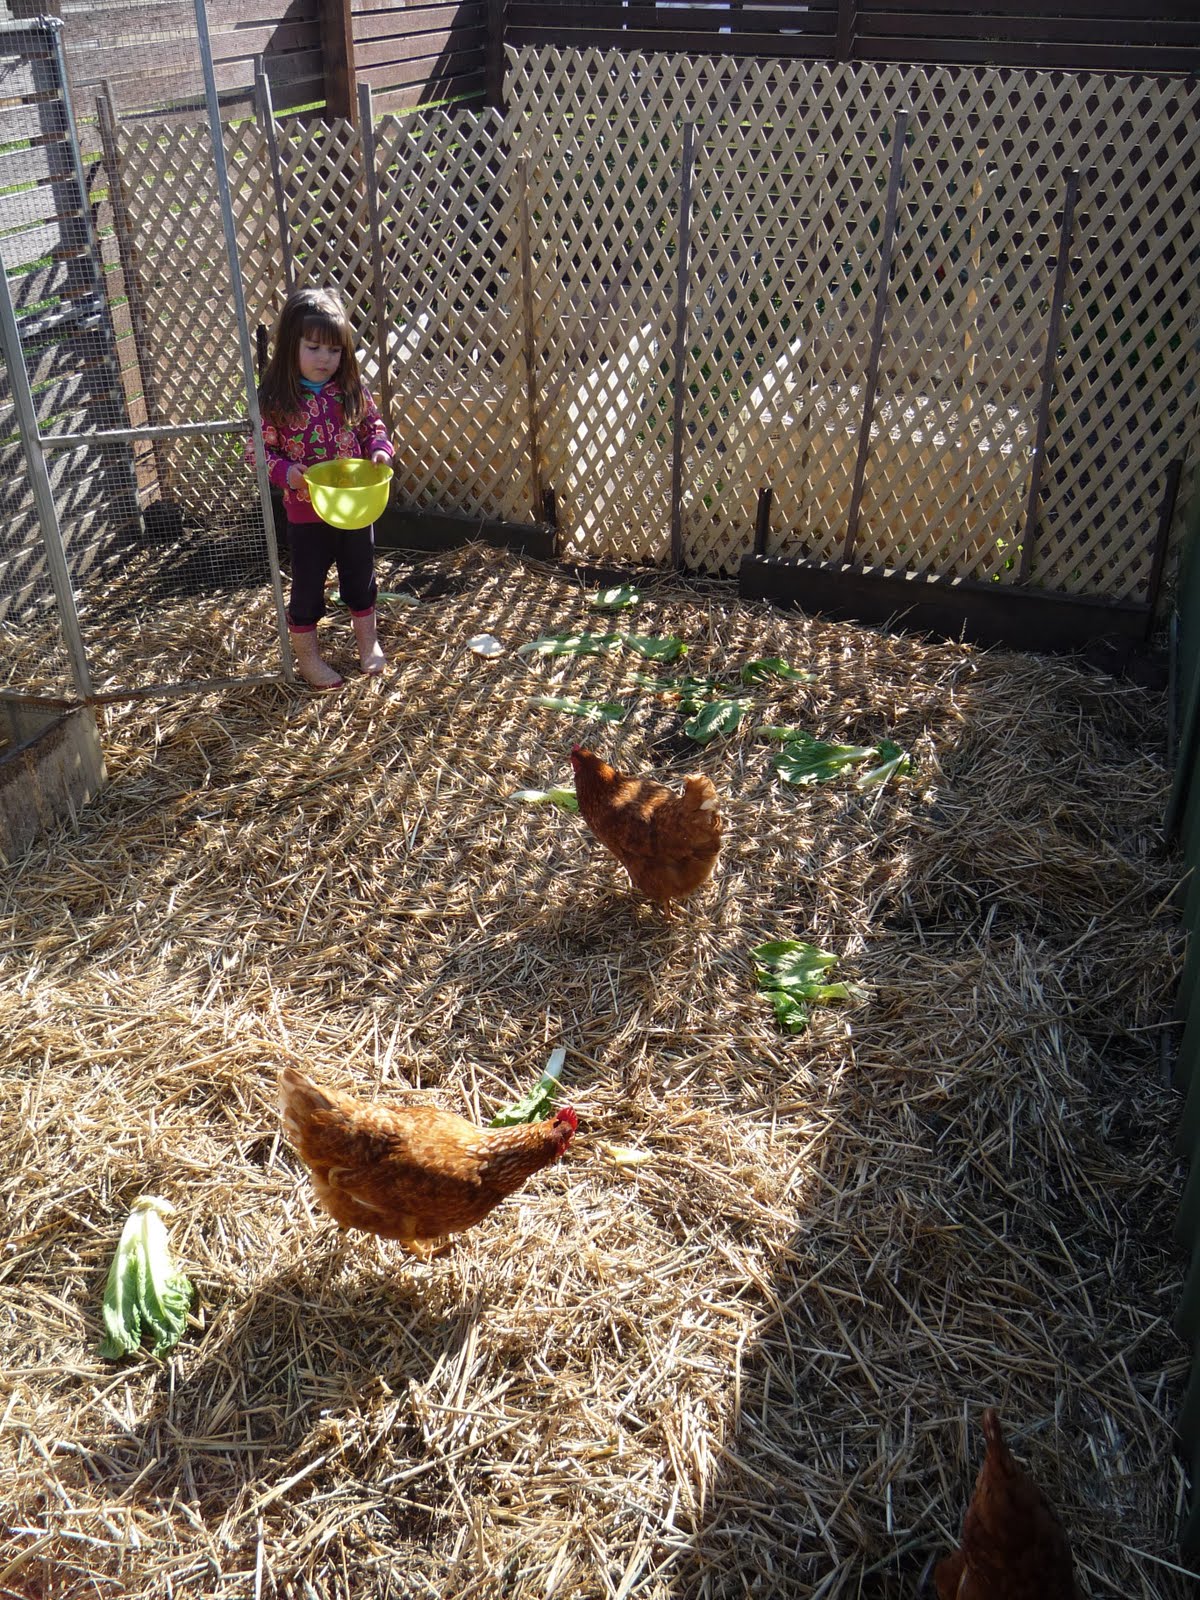
Miss 3 feeding the chickens


The coop - where the chickens roost & lay their eggs. 
See the little nesting boxes to the left.

We have a special grain feeder in the coop area and we did have a water bucket that was suspended off the ground, but believe it or not the chickens would still manage to get hay and other misc stuff into the water. We found (by fluke) water buckets work really well, but you have to keep them nice and full & clean them out still. 

Easy access to the fresh eggs


Fun!

The hay turns a little yucky after a few weeks, it's then used in the veggie patch as mulch. Our chickens are happy to eat any scraps we have to offer... or weeds! 

I'm also glad to say... I'm no longer afraid of chickens ;)

Natalie